

This is an exciting post for me...for those of you who follow me you know I have been working on my Altenew Educator Certification Program. I have finished the first 10 classes and have been given the final challenge before I can move on to the next 10.

The final challenge is:
1) Use any 3 components from classes in Level 1 and explain them; Share design tips.
2) Create a cohesive his and hers card sets of 4 -12 cards, each, for a theme of either birthday or encouragement. 2 sets total.
3) Design gift packaging for each.
4) Use one recycled element on the card or packaging.
Wow! How does one start? I have a favorite saying (from Kristina Werner) "Inspiration Exists, But It Has To Find You Working"! So true, if you sit and ponder, you will find inspiration.
I went through all my notes and cards that I had created for the first 10 classes and then pulled out my Altenew stamps set that I felt could be either feminine or masculine. One of my favorite type of cards are artistic techniques, as Jen Rzasa taught in the "For The Guys" class. Jen did a Galaxy background. I wanted a similar look, but with a lighter feel.

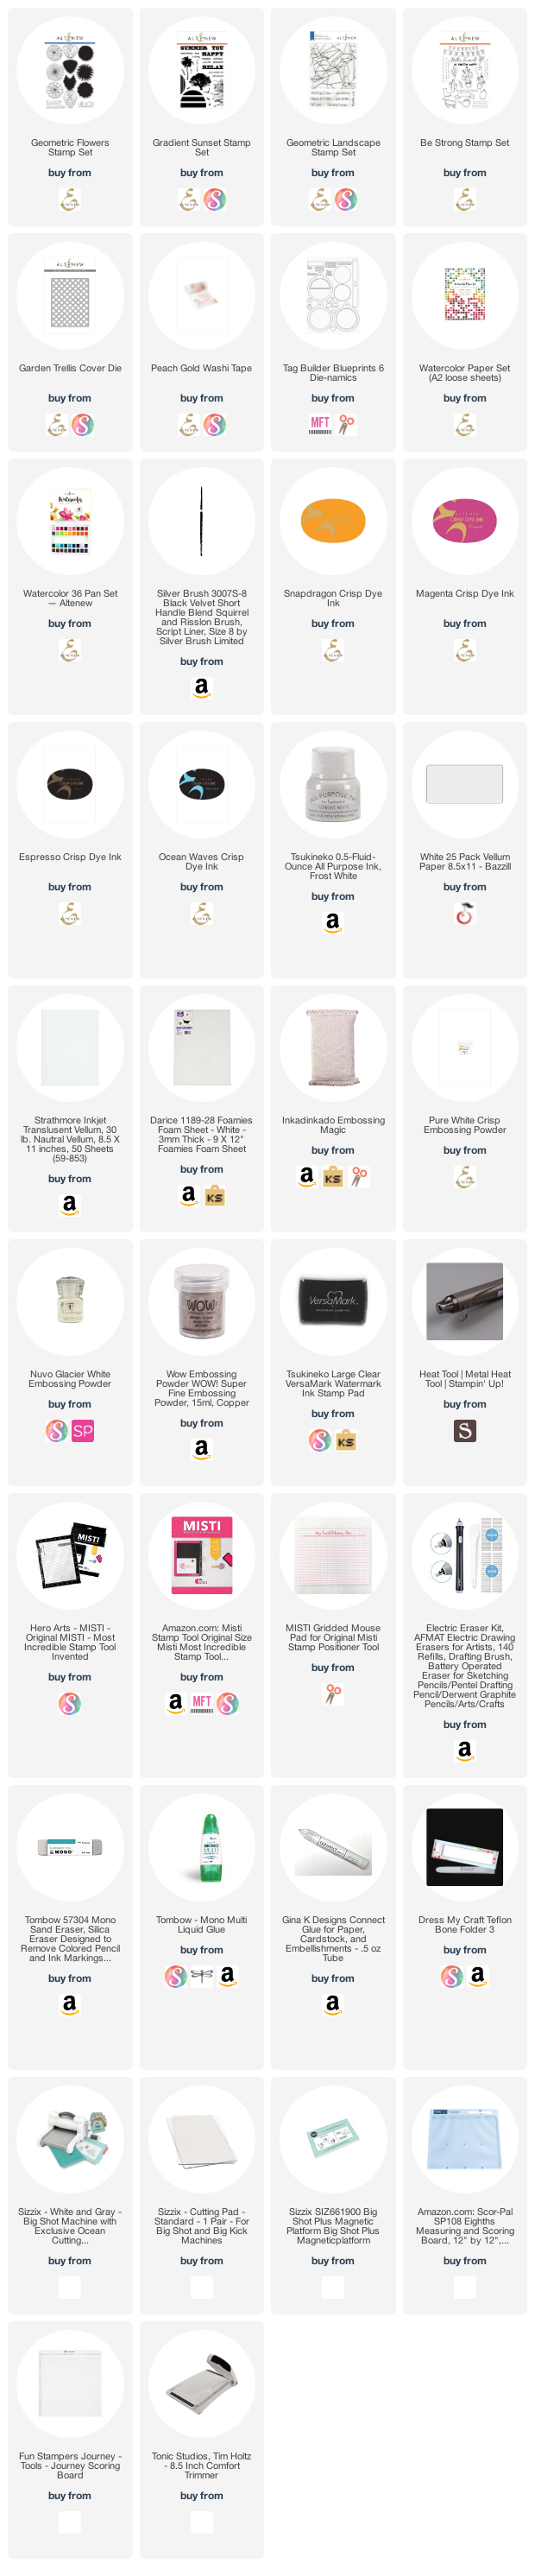
To begin, I used the technique taught by Yana Smakula in Easy Die Cutting Techniques to dry emboss with a die cut. I covered 2 A2 size pieces of card stock with Altenew's Peach Gold Washi Tape. I do this to keep the stencil template nice & sturdy for many future uses. This full size washi makes it so easy.


I next ran it through my Big Shot with Altenew's Garden Trellis Cover Die. I popped out all the positive pieces on the one I ran through with a shim and only some on the pieces on the other (without the shim).

My idea was a mixed media sort of look where some are randomly raised with the dry embossed and other have the full panel with the dry embossed. I used Altenew's watercolor cardstock (8 pieces) and ran them through the Big Shot with the washi die cut panel facing down, several pieces of card stock for shims and cranked them through back & forth about 6 times. Here is a close up of 2 of the 8 panels after the dry embossing:

Since I was planning to watercolor I taped my panels to a hard board. It helps keep the paper flat. I use yellow painters tape from a hardware store and do multiples at one time:

I used Altenew's 36 Pan Watercolors. Always swatch out your colors before starting to use them. It helps you see the true colors and will greatly help in choosing your color choices. You can also use a scrap of the same watercolor paper that you will be using and to see how the colors blend together.

To watercolor the panels I started with a wet on wet technique: totally wet the paper with clean water, just where you want the color to follow. Blues/browns for the masculine set and pinks/oranges for the feminine set.

My secret for any coloring is to always leave white! It gives movement and life to the work.

I let the panels dry overnight on the boards. I don't like to force dry watercolors. I feel they have a more natural look left to air dry.

Once dried, I splattered with the darkest watercolor used. Now for the recycled part. We save plastic bottle caps and generally use them in the bottom of our planters for drainage and to fill up space. But I thought, why not stamp with them? I put Tsukineko Frost White All Purpose Ink on an acrylic block and stamped with a small round cap. You can see the results in these pictures:


Now, the panels are all dry and adhered to a nice layer of fun foam for stability and just the perfect amount of dimension. In Easy Die Cutting Techniques, Lesson 1, Yana used vellum instead of card stock or paper. I knew I wanted to use the graphic designs from the Geometric Flower stamp set.
I thought to heat emboss them on vellum would allow the background to show through and yet give the front a good visual image.

For the sentiments, I made my own colored card stock as Sara Naumann taught in Irresistible Inking Techniques. All the sentiments now have color matching card stock and all were heat embossed with Altenew's Pure White Crisp Embossing Powder.

I edged all the panels with the ink to paper technique Sara taught just so they stood out from the white card base.You can see the ink to paper color on the edges here. Simply run the edge of the card gently along the ink pad for a nice crisp line of color.

It was fun to put all the encouragement cards together and finally create the box to package them. I watched several You Tubes and made simple scored boxes in dark colors to match the cards. To decorate I used more recycling: drywall tape that is no longer sticky enough to be used as originally intended. A simple ribbon around each cover and a tag to match finished my gift boxes.

Here is a look at all 8 encouragement cards and their boxes:


If you are still with me after this long post, I thank you! I learned so much from the first 10 classes and really look forward to the next 10!
*Some of the links in this post are affiliate links. This means if you click on the link and purchase the item, I will receive a small affiliate commission at no extra cost to you. All opinions remain my own.


These look amazing!! I love the messy, artsy goodness!! You did a terrific job. The colours look good too!
ReplyDeleteThank you for entering your work to the AECP assignment gallery.
Thank you, Erum!
Delete