Sunday, July 26, 2020

AECP #1 Level 2 Beyond Basic Backgrounds

Hi friends and welcome to my first, Level 2 class, for my AECP Certification. I've completed the first 10 and passed the Level 1 challenge and am onto the next 10!

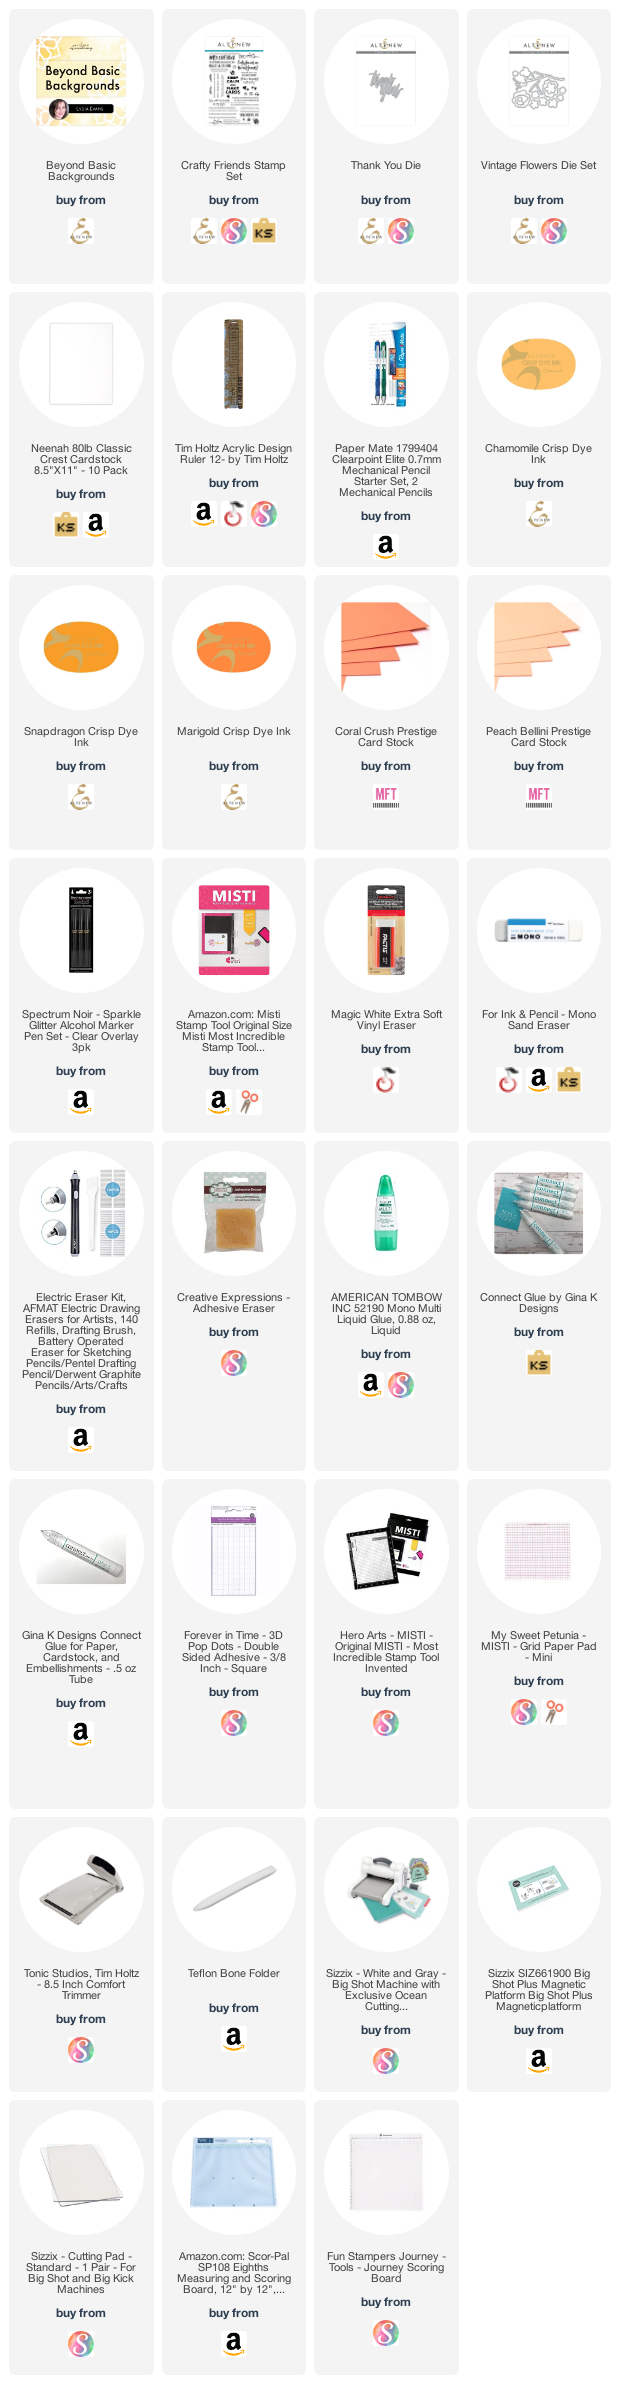
The set of six classes were by Lydia Evans and called Beyond Basic Backgrounds:
The class technique I choose was to make your own printed paper background by measured repeat stamping. I choose the floral stamps from the Crafty Friends Stamp Set  - look way down in the bottom right of the set:

To begin, using my Tim Holtz ruler, I drew a soft pencil line from each corner to corner as Lydia shows in the class. This gives a center point where the stamping begins. Next, placing one of the lines of the ruler along the first pencil line, draw a parallel line allowing enough room for your image to be stamped. Keep drawing these parallel lines until the card is covered. 
I used 3 different Altenew colors to stamp the floral images: Chamomile, Snapdragon and Marigold. Lydia taught that the stamps should go all the way to the edges, so that it looks like a piece of patterned paper. I thought the overall feeling was a bit retro. Reminded me of wallpaper I had growing up. 

Next, all the pencil lines are erased with a soft eraser. I decided to create an eclipse card with the Thank You Die from Altenew. 
I cut the "Thank You" several times out of white card stock and once from Coral Crush card stock from My Favorite Things. The Coral Crush was on the bottom. The white pieces were glued together first, then offset on top of the Coral Crush. It gives a drop shadow which was also discussed in the class.
I added a few flowers cut with the Vintage Flowers Die Set with the same card stock colors. Layered them up and added Swarovkski crystals I have had in my stash for the longest time. I good brush with Spectrum Noir sparkle pen over the letters gave just the right amount of sparkle.  I tried to capture the sparkle with an outside picture, but not sure that is working very well.

Lydia Evans had so many tips and tricks in her class - there is always something new to be learned. Thank you for visiting today - look through your stamps and find a good small image for repeat stamping!
*Some of the links in this post are affiliate links. This means if you click on the link and purchase the item, I will receive a small affiliate commission at no extra cost to you. All opinions remain my own.

Thursday, July 23, 2020

MFT Santa Selfie Peace Sign

 
Welcome to another post for Christmas in July cards. I think I am well on my way to having my Christmas cards finished for the year. I am submitting my card for 2 challenges: Atlantic Hearts Sketch Challenge and Time Out Challenges:

When I saw the challenge of "peaceful" with the peace sign, I thought right away of my fun Christmas sELFies stamps from My Favorite Things. There are 6 different image stamps and the one on the top right corner has Santa giving the peace sign!
I stamped that one image onto Bristol Smooth Paper with Altenew Obsidian Black Ink. While it was still wet I sprinkled Nuvo Detail Crystal Clear Embossing Powder over it and heat set. I planned to watercolor with my Kuretake Zig Clean Color Real Brush Markers for I knew they work amazingly well on the Bristol Smooth paper. By embossing the outlines, the watercolor tends not to blend, but stay in each embossed area. Since this was a selfie image I really didn't want blending of colors.

I used my Whimsy Stamps Get In Line set for the diagonal background. I have had this set for many years and it is perfect for those striped backgrounds which are so popular now. Instead of cutting your paper, simply stamp the colors! The colors I used were from Scrapbook.com's Hybrid inks: Orange Spice, Caribbean & Oasis and Slippery When Wet from Simon Hurley's line. My goal was to match the Zig coloring of the Santa & deer.
Once Santa was dry, I cut out the frame with my Kat Scrappiness Embossed Edge Square Dies. I colored the deer's bell with a silver gel pen and added Spectrum Noir Sparkle to the beard, hat brim and Santa's pom-pom. I let it dry overnight, then added Nuvo Crystal Glaze to the eyes, the bell, the hand band and cuffs. Gave it another overnight to dry. Card making is a process not to be rushed!
The stitched edging is from Lawn Fawn's Just Stitching Double Rectangle dies. They add a nice clean stitched border, but do not cut the paper.
The word "peace" comes from Altenew's Festive Silhouettes stamp set.
Last, but not least, is the fun inside sentiment from Scrapbook.com's Naughty & Nice stamp set:
Don't you just love a fun, snarky card sentiment? Especially at Christmas...it's unexpected and gives a laugh to those who might need it.
Thank you for sticking to the end and I want to thank both challenge teams for all their efforts in creating fun inspiration for us! Peace out!!!

*Some of the links in this post are affiliate links. This means if you click on the link and purchase the item, I will receive a small affiliate commission at no extra cost to you. All opinions remain my own.

Wednesday, July 22, 2020

The Card Concept 138b Christmas in July

Christmas in July! What could be better? No gifts yet, but just fun creating. My card for today's challenge was totally inspired by the colors of the inspiration photo: turquoise, red and that pretty pretty pink.
I made 3 Clean & Layered cards because I can never just make one!

They all were colored with Derwent Inktense Watercolor pencils on Ranger's Inkssentials Watercolor paper. This paper is perfect for card making! Bright white, has a smooth side for stamping and takes water well.
Which is your favorite? I love them all!

I will keep this post short today, but thank you for stopping by and if you are interested the products I used are shown below. 
*Some of the links in this post are affiliate links. This means if you click on the link and purchase the item, I will receive a small affiliate commission at no extra cost to you. All opinions remain my own.

Sunday, July 19, 2020

Sunny Studio Fast Food Fun


CCEE Stampers (Cheers & Challenges Eclectic Ensemble) had a weekly challenge for National Hot Dog Day:

"Yesterday (7/15) was National Hot Dog Day.  Make a card using something you would have at a picnic -- a hot dog, a hamburger, a checkered tablecloth, or maybe some ants!"


What a fun challenge and I knew I wanted to use my Sunny Studio's Fast Food Fun stamp:
I stamped all the images onto Ranger's Inkssential Watercolor Paper with Altenew's Obsidian Black Ink. Once dry, I watercolored using Derwent Inktense Watercolor Pencils. This really has been my go to way to color lately. So much so, I just ordered 3 packs of paper from A Cherry On Top, great price and free shipping at a certain level. I have everything set up in front of the TV for coloring as I enjoy a show with hubby. Anyone else a fan of Acorn TV?
Once colored, I fussy cut all the images, although there is a coordinating die (I don't have). To put the card together I started with my Whimsy Stamps Slimline Waves die and cut it from Neenah Classic Crest Solar White 110lb. paper:
I kept the 6 insert pieces in the same position, so that I could ink blend and pop them back in like a puzzle piece. I used Distress Ink - Vintage Photo and Wild Honey with Scrapbook.com's Foam Blending Tools. I have one foam for each color family and it works out very well. I played around with the layout until I felt it was most pleasing.
The sentiment is from Honey Bee Stamps Ridiculously Happy set and I thought  perfect for this theme! I always try to stamp the sentiment before any embellishments are added. Makes it much easier.

All the images and the Honey Bee Small Clear Dew Drops were all adhered with Gina K's connect glue.
With a pizza slice for the inside!
Thank you to CCEE Stampers for the fun challenge and I hope to play along again! Now I am hungry...
*Some of the links in this post are affiliate links. This means if you click on the link and purchase the item, I will receive a small affiliate commission at no extra cost to you. All opinions remain my own.

Hippo Fun In The Sun

I know, I know, another hippo card?! Yes, please! This little girl is so darling and just reminiscent of the Coppertone ad (for those of a certain age that remember it). Two challenges today: a sketch and Crazy 4 Challenges #543 color: turquoise, pink, peach & sand/gold.
Here is the stamp set that I've stamped on Ranger's Inkssential Water Color paper with Altenew's Obsidian Black Ink and watercolored with Derwent Inktense Watercolor pencils.
The scene is a piece of Bristol Smooth die cut with Kat Scrappiness' Embossed Edge Square Die. I love the clean edge it gives. 

The clouds were ink blended with My Favorite Things' Cloud stencil and Distress Tumbled Glass Ink. The sand is Distress Oxide Vintage Photo and Wild Honey with some Vintage Photo splatter. The base is a kraft pre-made square card that I've had in my stash from Michaels. 

I previously cut all the images from the stamp set cut out with my Brother Scan 'n Cut with the .4 white border. I glued the image flat to the card with liquid glue. I used a piece of fun foam, just a hair smaller, than the center square to pop up the entire image. I really like fun foam, for it is not as thick as my 3M foam tape and yet holds the card nice and flat in the mail. 
The background is a piece from a 6 X 6 paper pad from My Favorite Things called Painted Prints Citrus. I very seldom use printed paper, so I am glad when I am able to use a bit from my stash. The sentiment is from My Favorite Things, Hey, Sunshine stamp set and the inside sentiment from their Sassy Pants Birthday Greeting 2 set. I love a good snarky sentiment!

I white heat embossed the sentiment on Black Licorice card stock from My Favorite Things. After it cooled, I cut it out with my Kat Scrappiness Stitched Sentiment Strips. The are really my new favorite. The have 5 sizes and cover just about every sentiment size I normally use. I also love a nice clean full border stitch line. 
The easiest way to use them is to cut them in one pass on a piece of scrap card stock before you clip the dies apart. That way you just lay the negative window over your sentiment, line it up, set in the die (which has now been cut apart) and hold it steady with washi tape. Run it through your die cutting machine and you have a perfect sentiment-with stitched lines all around.
Fun, fun card and I had really enjoyed creating it. Be well, all, and wear those masks!
*Some of the links in this post are affiliate links. This means if you click on the link and purchase the item, I will receive a small affiliate commission at no extra cost to you. All opinions remain my own.

Categories

#simplestamping (4) abstract (2) alcohol markers (11) Anniversary (3) baby (6) Back on Your Feet (3) balloons (10) Beach (10) Believe You Can (3) Birds of a Feather (2) Birthday (26) birthday card (21) Black & White (5) blog hop (2) Bokeh (2) Buffalo Check (2) butterflies (13) Butterfly Gala (2) Cake (3) card challenge (15) CAS (34) CAS Christmas (12) CAS Stencil (4) CAS Watercolor (14) Christmas (19) CI#48 (2) clean and simple (3) Color Throwdown (15) Colour Inkspiration. ink blending (3) Crafting Forever (2) deer (3) Disney (1) dog (8) DSP (2) embossing (10) Embossing Folder (14) Embossing Paste (7) Encouragement (10) Father's Day (7) featured (2) Flowers (9) Free As A Bird (3) Freezer Paper (2) Freshly Made Sketches 366 (2) Get Well (4) Guest Designer (6) Halloween (8) Ink Blending (119) Ink Smooshing (3) International Highlights (1) Kylie (2) kylie bertucci (5) Kylie's International Blog (2) Lace (3) large alphabet (2) Laura Bassen (1) Lots of Cheer (2) Lovely as a Tree (2) masculine (11) masculine card (6) masking (8) Mother's Day (2) NC demos (2) New home (2) Notes of Kindness (2) Ornament (1) Pigment Sprinkles (6) rainbow (5) Repeat Stamping (2) Reverse Technique (2) Rooster (1) Rose (3) Shaker card (2) shaving cream (4) Sheet Music (4) sketch challenge (7) small stamps (2) Snowflakes (2) SSC197 (2) Stamp 'n Blends (2) Stampin' Blends (5) Stampin' Up! (5) stars (4) Stencil (31) step technique (1) Sweet Friend (3) Swirly Bird (2) sympathy (9) tea (5) Thank you (17) Thanksgiving (6) Top Ten (2) Treat Holder (1) typewriter (2) Valentines Day (1) Watercolor (160) Watercoloring (31) Wedding (6) Winners (2)

Popular Posts