Monday, October 28, 2019

Paper Smooches for Color Throwdown 566


I am not originally from the South, but for some reason I always feel like starting my blogs with Hi Y'All! 

Today's post is for Color Throwdown #566: orange, grey and cream.

I have had this Paper Smooches city die in my stash for quite a while and I thought a city scape would be fun in these colors.
I started with a piece of My Favorite Things Cream card stock and ink blended with Range Distress Ink Spiced Marmalade. I did get one sort of splotch, but left it in anyway. Couldn't seem to blend it out. Perfection is over-rated, right?!!! 
 The city buildings were cut from Neenah white card stock and colored with a Copic Marker C5 for my grey color. 
I stamped the "Thinking of You." sentiment from the Penny Black Gentle Thoughts set with Scrapbook.com Rainy Day Hybrid Ink using my MISTI. The dog and little girl image from this Penny Black stamp set is so darling. Definitely one I want to work with soon.

To put the card together, I layered the background onto a piece of fun foam with Gina K Connect glue. Then I adhered the building flat on each side, but popped up the center with foam tape. That front card was then adhered to an A2 (4 1/4" X 5 1/2")size MFT Cement Grey card base.

Clean and simple and I really like the outcome. If you'd like to challenge yourself and expand your creativity a bit, try a card challenge, either sketch, color or both! It's really fun and usually you come up with something very new and fresh!

If you'd like to check out any products I've used today, the links are below and as always, thank you!

*Some of the links in this post are affiliate links. This means if you click on the link and purchase the item, I will receive a small affiliate commission at no extra cost to you. All opinions remain my own.

Impression Obsession for Freshly Made Sketches 408

 
Welcome to my blog post for the Freshly Made Sketches challenge #408. I am running late this week with my entry, so I am going to make this quick!
My plan was to create an ink-blended night sky with lots of stars. I used Ranger Distress Inks (shown below) and splattered with both water droplets and Scrapbook.com White Ink (watered down on an acrylic block.) 

What inspired this card was actually the sentiment from Impression Obsession. It just appealed to me and the simplicity of this sketch design seemed like a perfect time to use it.

Some of the dimensional stars are from Studio Katia Iridescent Star Embellishments. They are so pretty and sparkly in real life.

Well, as promised, this post is short and hopefully sweet! All products I used are shown below if you are interested in checking them out! Thanks for stopping by.
*Some of the links in this post are affiliate links. This means if you click on the link and purchase the item, I will receive a small affiliate commission at no extra cost to you. All opinions remain my own.

Wednesday, October 23, 2019

Trinity Stamps Joyeux Noel for CAS Christmas Oct 19

 
Welcome friends to my blog post for the CAS Christmas Challenge Oct. 2019:
A winter scene! How fun! So many ideas...so little time.  But I have been wanting to play with my new Joyeux Noel 4 X 6 stamp set from Trinity Stamps:
This set just spoke to me for some reason. I just fell in love with this gentle deer looking up at the stars.
I started with Arteza 140 lb. cold press watercolor paper and stamped the deer, tree and largest star several times each using my MISTI and my Scrapbook.com Black Hybrid Ink (a non-bleeding ink with watercolors). I normally stamp at least 3 images so that I can practice coloring. Next, using my Scan 'n Cut I had all the images cut out at one time and chose not to have a white border. 

For this card, I pulled out my Kuretake Zig Clean Color Real Brush markers and painted the images with a watercolor brush. I like them not only because they work beautifully, are vibrant and easy to transport, you can buy them in sets or individually. This way you can replace your most loved markers easily.
The card is a base of Lawn Fawn Kraft cardstock cut to 4 1/2" by 11" and scored at 5 1/2". For a CAS card there must be a lot of white space. In this case, I cut a piece of Neenah white cardstock with the Hero Arts Star Confetti Fancy Die. I did not plan to cut out the stars using my Big Shot, but just one pass. This way they did not cut all the way through. The gingham border was left over from a previous card post and I was happy to put it to good use! Right At Home's Gingham Background with black on cream cardstock, perfect. I adhered the 2 side gingham pieces to the white center and glued the whole panel onto Fun Foam which was cut to size. I love to use Fun Foam for it gives a nice even layer, perfect for mailing.
Hard to see, but I cut 2 pieces of white cardstock in the shape of snow hills and brushed Ranger's Distress Broken China along the top edges. I also ran these 2 pieces through Lawn Fawn's Just Stitching Double Rectangles. Some of the images were adhered flat, some popped with foam tape.

The sentiment is white heat embossed with Nuvo Detail Glacier White Embossing Powder. I have been using my Avery Elle Simple Sentiments die cuts to cut out sentiments for almost every card I make. I have such a hard getting even straight borders. They are perfect to use!
Such a pretty font "a star above that shines so bright" and the inside is "brings peace to all this holy night."
Lastly, the trees and nose of the deer were finished with Wink of Stella Glimmer Pen and the star with Stickles Icicle.

I hope you've enjoyed this card and take a look at the Trinity Stamps shop. The stamps work perfectly first time, no prepping! I am looking forward to working more with their products!

All products mentioned are linked below if you are interested. Thanks for sticking to the end!
*Some of the links in this post are affiliate links. This means if you click on the link and purchase the item, I will receive a small affiliate commission at no extra cost to you. All opinions remain my own.

Tuesday, October 22, 2019

Impression Obsession Maple Branch for CAS Watercolour Challenge Oct. 19

Can you believe another month has rolled around and it is time for the CAS Challenges (Watercolor, Stencil, Christmas & Mix Up) which are usually due on the 24th. I wanted to play along with the watercolor challenge this month. It is also CAS' 3rd birthday!
The theme is Maple Leaf. So here is the challenge - use Maple Leave as an inspiration or image, keep it Clean and Simple and watercolor in some way.
Here is what I came up with using Impression Obsession's Maple Branch red rubber stamp:
I stamped onto Arteza 140 lb. watercolor paper with Scrapbook.com's Black Hybrid Ink. What is Hybrid ink? Why use it for watercoloring?

Here is the description from Scrapbook.com's site:
"Our hybrid ink pads are proudly made in the USA and feature an ergonomic design making it easy to hold; the lid snaps on the base that creates a handle so that it is easy to ink your stamps. They are archival, acid-free and feature a non-fading color ensuring that your stamped images will last for years to come. The ink is non-bleeding, you’ll have perfectly stamped images every time you use it and it’s waterproof when dry, so it’s easy to use with your markers and watercolors."

I ended up buying the whole set of inks once I tried them! Each color comes in a family of 4 and are marked 1 through 4, lightest to darkest. Easy to work with using the numbering system. Again, I like to have all the options available and with a coupon code I had, they were half the price of other sets on the market.

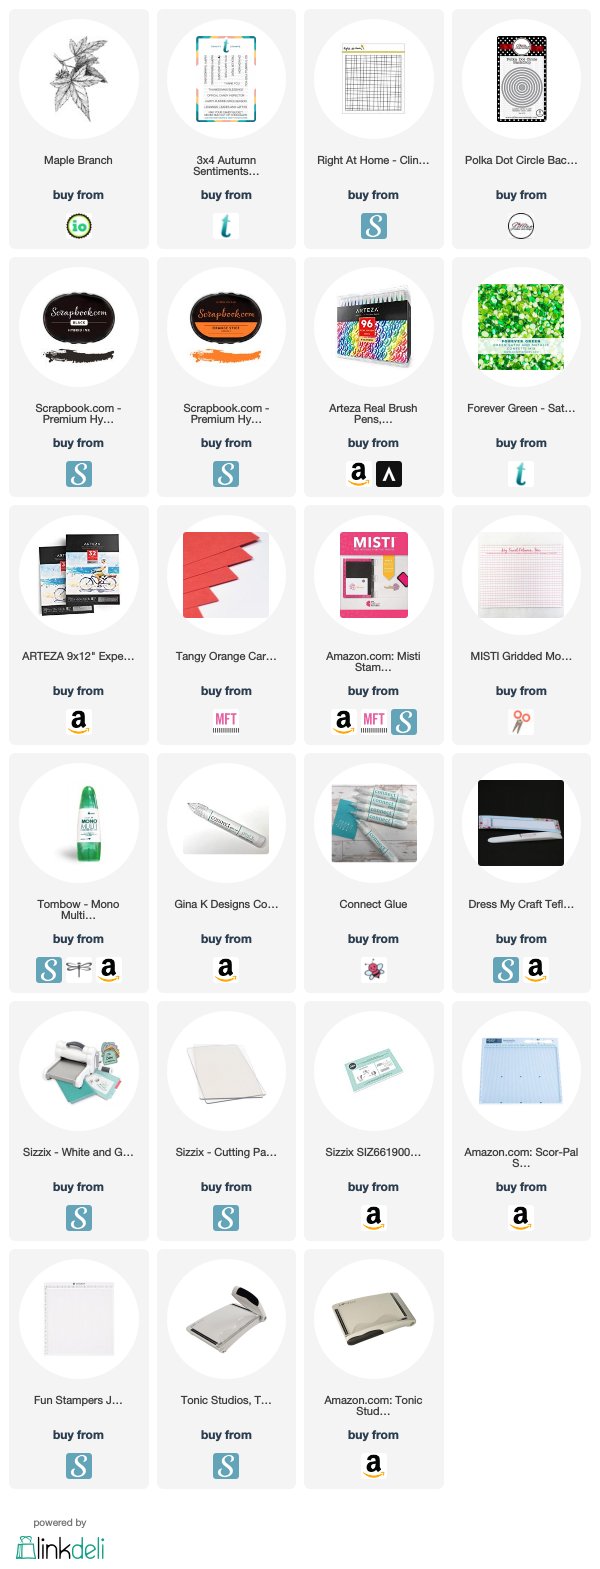
But back to the watercoloring. It was really a simple image that didn't take long to color. I used the Arteza Real Brush Pens in various oranges, greens, browns and a little burgundy and a water brush. I cut the image out with my Jillian Vance's Polka Dot Circle Backdrop Die. Nice selection of sizes with that set.

The sentiment comes from Trinity Stamps Autumn Sentiments Stamp set. This is a 3 X 4 stamp set with lots of unique sentiments. I actually cut apart the sentiment because I felt it fit better stacked than one long sentiment. It cut cleanly and I can simply layered it back together at a later time to use as intended.
The card base is MFT's Tangy Orange card stock cut to an A2 card size. Using my Misti, I stamped Right At Home's Grid Background Stamp with Scrapbook.com's Orange Spice. This is a 6 X 6 Red Rubber stamps that works beautifully. Again, I am always looking for a little something subtle in the background.
Lastly I simply layered the circle to the card base using liquid glue and trimmed of a bit on the top and sides. 
The finishing touch was a few of these Forever Green Confetti circles from Trinity Stamps. Beautiful for Christmas, St. Patty's Day, Spring cards and today an Autumn card!
There are many stamp companies of all sizes on the web today. Some of what I have shown in this blog comes from small, owner operator companies and our support helps them to prosper and grow. If a company's name is unfamiliar, check them out and see what they have to offer. Most likely, you won't be disappointed.

As always, thanks for staying with me to the end. All the products discussed on this blog are linked below.


*Some of the links in this post are affiliate links. As an Amazon Associate I earn from qualifying purchases. This means if you click on the link and purchase the item, I will receive a small affiliate commission at no extra cost to you. All opinions remain my own.

Monday, October 21, 2019

My Favorite Things New Best Friend Sketch Challenge 459

Welcome to my blog post for the My Favorite Things Wednesday Sketch Challenge #459. Here is the layered sketch for the challenge:
I have 3 daughters and they are all huge dog lovers, especially when it comes to puppies. When I saw this set, I just wanted to keep it for my stash, for it makes perfect cards for the family and friends, as well. To begin this card, I stamped the image onto 140lb. Fabriano Hot Press watercolor paper with Scrapbook.com's Premium Black Dye Ink. Hot press paper is smooth, so it works well with stamping.

I like to color at work while I am at lunch, so I generally stamp multiple images and work on them as time permits.
As I mentioned in my last blog post, I just purchased the Arteza Real Brush Pens - the 96 piece set. I do like to have all the colors! Must be a leftover from childhood and the large Crayola sets. I found damping the paper first was helpful in getting the color to spread.
Once all the images that I needed for this card were colored, I ran the full piece through my Brother Scan 'n Cut. Doing a test cut first, can be very helpful when trying different types of paper. I used about a 6 blade cut for this hot press paper. The Scan 'n Cut cuts out all the images at one pass. In this case, I chose no white border around the images. You can set as small or as wide border and you like. 

The background is the Staggered Paws Prints Stencil also from My Favorite Things. I taped off a rectangle with Post-It tape and using my new Scrapbook.com Ink Blended Tool, I created a one layer rectangle with a combination of Distress Peacock Feathers and Cracked Pistachio ink. Then I using a new foam head, I ink blended Scrapbook.com's Sugar Cookie on all the other Paw Prints. I felt it need a little something in the background. 

I die cut the background piece with Jillian Vance's largest Rectangle Backdrop Die cut. The card base is an A2 size (4 1/4" X 5 1/2") made with MFT's Tropical Teal Prestige Card Stock. Really a beautiful blue.
The little girl and the puppy were adhered with foam tape to a piece a Vellum which was cut with FSJ Journey Ovals. I used both the die cut piece that actually cuts the oval and the insert piece that cuts the dots around the edge. Really nice to have options. The Vellum itself was adhered with liquid glue just behind the images.

The sentiment is from MFT's Sweet Sentiments set. Using MFT's Black Licorice card stock, Versamark Ink and Nuvo Glacier White Detail Embossing Powder, I heat embossed the sentiment. That finished the card, no more embellishments for I felt the background had it all.

One note: I saw a blog where Jennifer McGuire recommended an electric eraser called Couture Creations.
Of course, I had to try it and it is amazing!!! Very gently totally sands off any smudges without damage to the paper. As least that has been my happy experience. This one is a keeper.

If you have dog lovers in your world, this is a fun set to have for when that particular occasion arises! I thank you for sticking to the end of my blog and below are all products mentioned today if you would like to check them out:

*Some of the links in this post are affiliate links. This means if you click on the link and purchase the item, I will receive a small affiliate commission at no extra cost to you. As an Amazon Associate I earn from qualifying purchases. All opinions remain my own.


Sunday, October 20, 2019

Impression Obsession Pumpkins for HSSIC325

I saw this Impression Obsession sentiment in their stamp set called "Pumpkin Kisses" and I knew I had to make a card with it! It's so true - October is the most beautiful month. We spent the weekend camping with friends in our RV at the local State Park. Just a beautiful weekend.
The challenge was an inspiration picture:
I choose the black & white gingham and the pumpkins to create the card. I started with Arteza 140 lb. watercolor paper and Arteza Watercolor Markers. I just purchased their large set of 96 and wanted to play with the colors. It always takes a while to learn how to use a new medium and I was happy with the results!
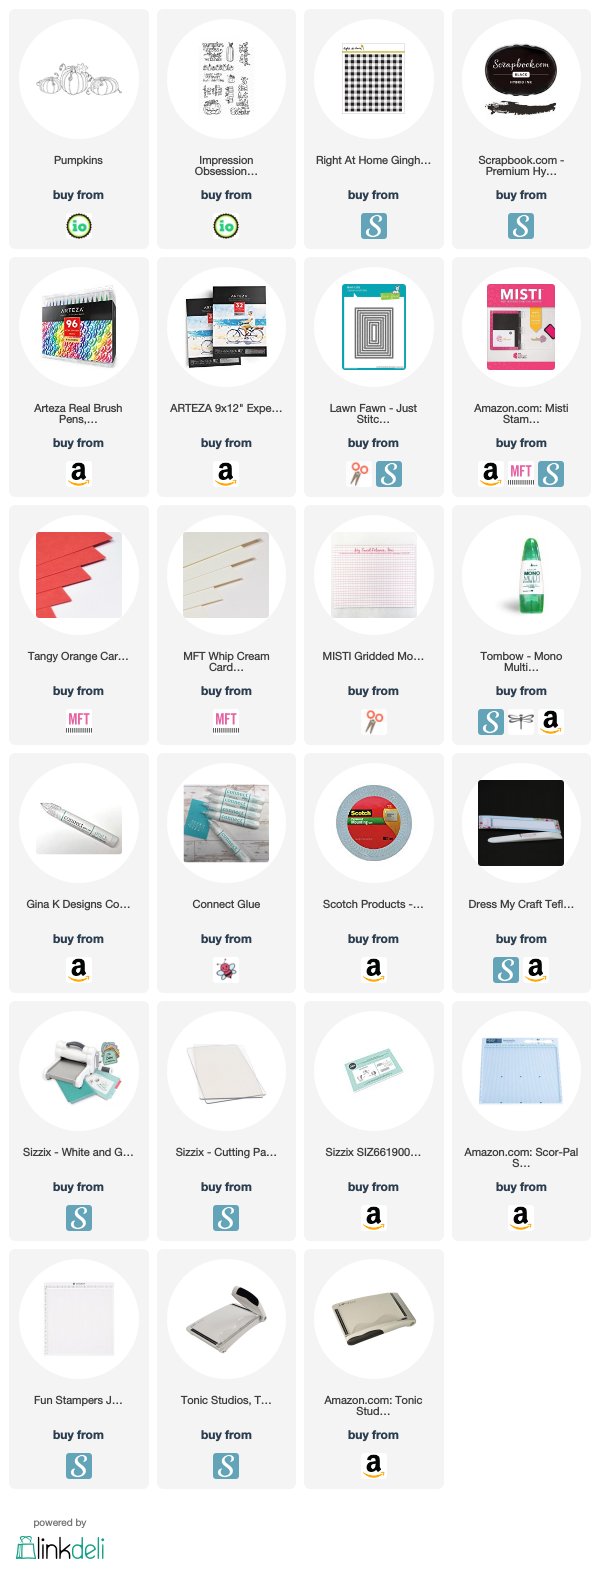
I stamped the sentiment with Scrapbook.com's Black Hybrid Ink several times using my MISTI. For watercolor paper, a stamp positioner is really critical. I used Lawn Fawn's Just Stitching Double Rectangles for the stitched images along the edge of the paper. These are fun - they just impress the stitch image, they don't cut the paper.

The background is Right at Home's "Gingham Background" stamped with the Black Hybrid Ink onto My Favorite Things Whip Cream card stock. I cut it at an angle and popped up with 3M Foam Tape. The card base is also from My Favorite Things  - Tango Orange cardstock.

I used sequins from Trinity Stamps which were a gift with purchase. They are a pretty iridescent orange.

Thanks for visiting my blog today and all products mentioned are shown below.

Happy October!

*Some of the links in this post are affiliate links. This means if you click on the link and purchase the item, I will receive a small affiliate commission at no extra cost to you. All opinions remain my own.

Sunday, October 13, 2019

Gnomes for Christmas with FMS #406


Hi friends! It's been a little while since I posted. We had a fun family vacation in Charleston, SC and family in town for a few days. Whew! It's been a whirlwind.

I wanted to play along with the Freshly Made Sketches challenge this week:
I had previously colored some of these cute gnomies with my Spectrum Noir Alcohol markers and thought they'd be perfect for this sketch.
As I've talked about in previous blogs, I often sit and color at night while watching TV with hubby. After I colored all the gnomies and flowers, I used my Brother Scan 'n Cut to cut them out. If you dislike fussy cutting and want to save on purchasing matching die cuts, you'll love the Scan 'n Cut. Beside cutting out all the detailed images you have, you can also set the width of the border around the image. If you notice I have a small white border, all nice and even, around all the images.
To make the card, I used My Favorite Things Coral Crush card stock and sponged snow on the front. I used the Snowfall Stencil, also from MFT with Scrapbook.com's new ink blending tool.
The smallest pack comes with 2 handles and 5 domed foam covers that adhere with velcro for $5.49. They work really well and I like the smooth foam with no edges. I think this tool will get a lot of use!

To create the snow I used Scrapbook.com's Premium White ink. So nice and juicy - it created snow in a flash.
I cut a piece of Neenah White and ran it through my Big Shot with Pretty Pink Posh's Scallop frame using the magnetic platform. Next, I used these 2 die cut pieces and again ran them through the Big Shot again. This time I used the regular platform with Trinity Stamps' Diagonal Stripe Embossing Folder. The resulting pieces I glued to the front of the card with Tombow Liquid Adhesive for some nice texture.

The Gnomies & Flower were popped up with foam dimensional adhesive and the outside was finished with Trinity Stamps' Cave Crystals adhered with Gina K Connect glue. I wish I could capture their cool iridescence. 

The sentiment on the front is from Scrapbook.com's Holly Jolly Sentiment stamp set. This set is a clear photopolymer set with 30 different stamps, including a little reindeer and a few snowflakes! I had not used a Scrapbook.com's stamp set before and was really pleased with the results. Sometimes with photopolymer stamps you have to prime them, but in this case I did not! It stamped beautifully the first time. For $17.99 I think you have all the different Christmas sentiments that you would need. Large, small, typewriter font, cursive, bold, etc. All fun!
Finally the inside was finished with the "Gnome for the Holidays" sentiment from the Stampendous Holiday Gnomes set. One more little guy was glued down next to it.
Well, one more card for Christmas! Yah! I do think I will make more with the cute Gnomies!

Thank you for visiting my blog today and I appreciate you sticking to the end. If you are interested in any of the products mentioned in this blog, the links are below:
*Some of the links in this post are affiliate links. This means if you click on the link and purchase the item, I will receive a small affiliate commission at no extra cost to you. All opinions remain my own.

Categories

#simplestamping (4) abstract (2) alcohol markers (11) Anniversary (3) baby (6) Back on Your Feet (3) balloons (10) Beach (10) Believe You Can (3) Birds of a Feather (2) Birthday (26) birthday card (22) Black & White (5) blog hop (2) Bokeh (2) Buffalo Check (2) butterflies (13) Butterfly Gala (2) Cake (3) card challenge (15) CAS (34) CAS Christmas (12) CAS Stencil (4) CAS Watercolor (14) Christmas (19) CI#48 (2) clean and simple (3) Color Throwdown (15) Colour Inkspiration. ink blending (3) Crafting Forever (2) deer (3) Disney (1) dog (8) DSP (2) embossing (10) Embossing Folder (14) Embossing Paste (7) Encouragement (10) Father's Day (7) featured (2) Flowers (9) Free As A Bird (3) Freezer Paper (2) Freshly Made Sketches 366 (2) Get Well (4) Guest Designer (6) Halloween (8) Ink Blending (119) Ink Smooshing (3) International Highlights (1) Kylie (2) kylie bertucci (5) Kylie's International Blog (2) Lace (3) large alphabet (2) Laura Bassen (1) Lots of Cheer (2) Lovely as a Tree (2) masculine (11) masculine card (6) masking (9) Mother's Day (2) NC demos (2) New home (2) Notes of Kindness (2) Ornament (1) Pigment Sprinkles (6) rainbow (5) Repeat Stamping (2) Reverse Technique (2) Rooster (1) Rose (3) Shaker card (2) shaving cream (4) Sheet Music (4) sketch challenge (7) small stamps (2) Snowflakes (2) SSC197 (2) Stamp 'n Blends (2) Stampin' Blends (5) Stampin' Up! (5) stars (4) Stencil (31) step technique (1) Sweet Friend (3) Swirly Bird (2) sympathy (9) tea (5) Thank you (17) Thanksgiving (6) Top Ten (2) Treat Holder (1) typewriter (2) Valentines Day (1) Watercolor (162) Watercoloring (31) Wedding (6) Winners (2)

Popular Posts