

Welcome back friends! I am continually striving to improve my skills and working through the Altenew Education Certification Program will (hopefully) do just that.

This is my card submittal for the 3rd class, Lesson 1 of Jennifer Rzasa's Clean & Simple boutique cards. I can't say enough about this class and all of Jennifer's inspiring techniques! These classes are available to anyone and for less than $5.00 it is a bargain:

The Clean & Simple boutique card is a one layer card...by that we mean the design is simply stamped on the card base itself, with no extra bits "popped up". This can be a struggle in itself for me. I don't often make a one layer card. Also, part of the challenge was to "doodle" with a black pen on the card, once all the images were stamped.
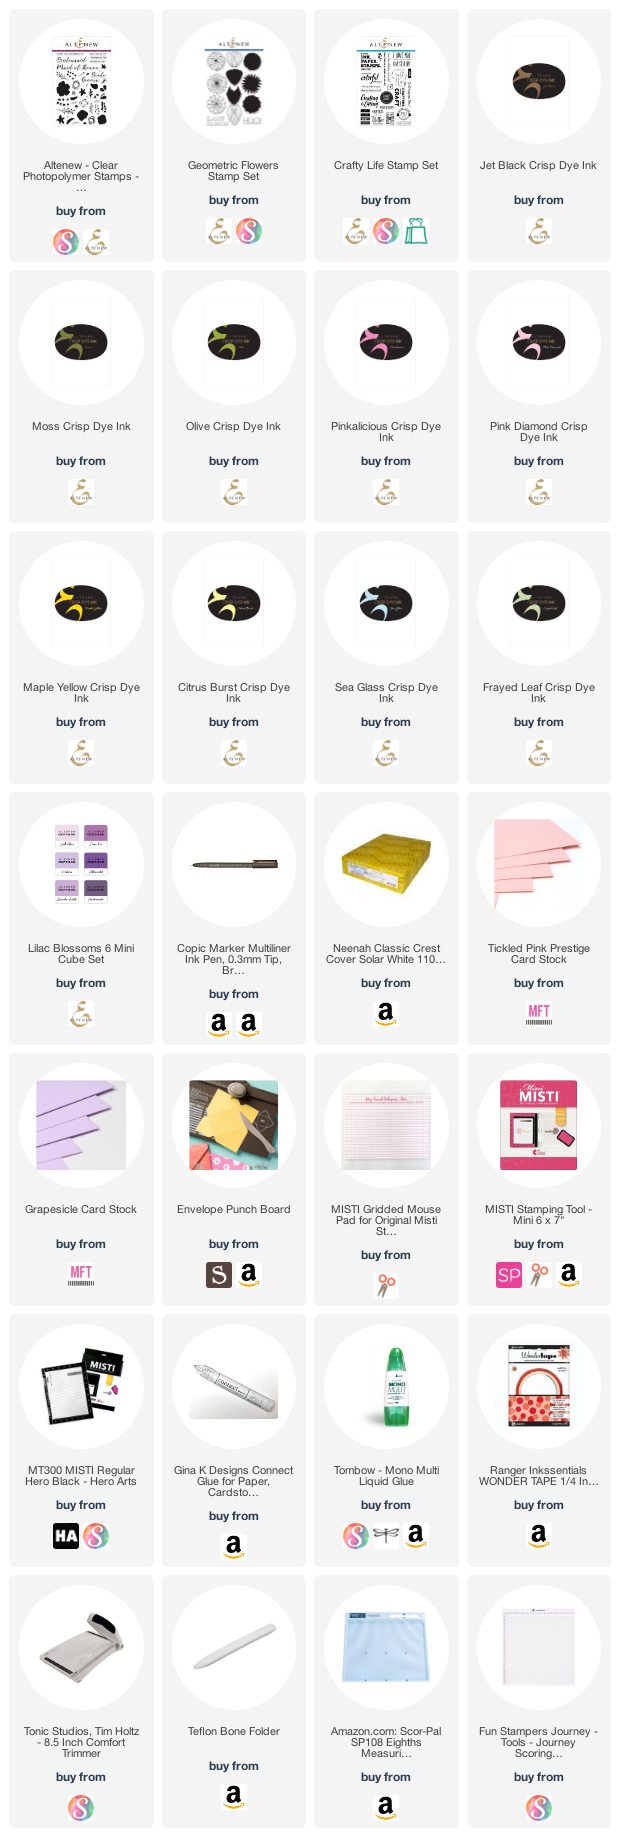
I just received some new ink colors from Altenew and wanted to swatch them out to see how they "played" together. I planned to used the Bride to Be stamp set for my card, so that is the set I used to try out variations of the colors. I wrote down the colors I used under the row of stamped images: bottom layer notated first, middle layer next and finally the top layer. That way I can see what I like best and easily repeat in the future. I can also take these sheets are visually lay them next to each other in choosing coordinating colors.
Then I was ready to start my card. I wanted to keep a simple 3 image triangle focal point and add some leaves and buds. I like odd numbers - I added 5 smaller images to the 3 main images. And, I believe, the clean and bold sentiment from the Geometric Landscape stamp set, balances the card.
A little doodling with a Copic Multiliner .3 black pen and I was all finished. I would recommend practicing on scrap paper to "loosen" up your doodling first. Your hand gets freer the more you practice.
Jen also taught about making your own envelopes. I have done that for years, but she had a great tip. After punching the first punch (lined up to appropriate inch value), scoring, you then turn the envelope base 180 degrees and line up to the same value and punch again and score. In other words, you do the first step twice at opposite end of the card stock.
Then the other 2 sides are lined up with the scoring line and scored. Hard to explain, but easy to do, once you watch the class. It helps obtain a more perfect envelope.

I did stamp and doodle on the envelope, as well. While I was at it, I thought I would make another card. I got a bit carried away and this one has many more images:

And one more envelope, too!

All great fun and definitely got me out of my comfort zone. I really liked how both cards turned out - they will fit beautifully in the envelopes, too! All colors and products used are linked below. Stayed tuned for I have 2 more blogs to post for this class! So much inspiration...
*Some of the links in this post are affiliate links. This means if you click on the link and purchase the item, I will receive a small affiliate commission at no extra cost to you. All opinions remain my own.


Such pretty cards and I love how you did those envelopes!
ReplyDeleteThank you, Michelle! I appreciate your kind comment♥️
ReplyDeleteWOW WOW WOW!!! These look so beautiful!! You did such a wonderful job! My heart is so happy looking at these, so so pretty!
ReplyDeleteThank you for entering your fabulous work to the AECP assignment gallery. Well done!
Thank you, Erum! Your comments are always so nice and much appreciated ❤️
ReplyDelete